contact@jerseystrongroofing.com
How to Install Metal Roofing Panels: A Step-by-Step Guide for Homeowners
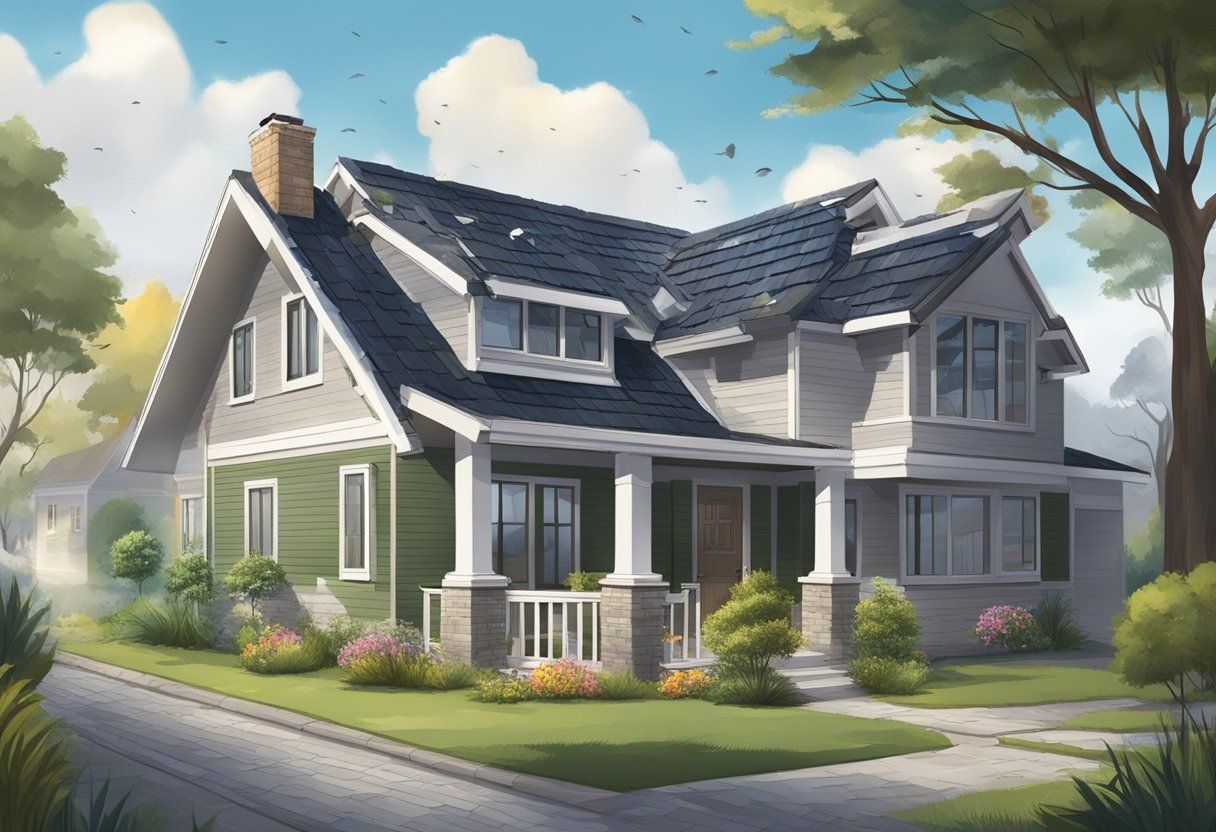
Installing metal roofing panels can transform your home with durability and efficiency. You can achieve a reliable and weather-resistant roof by following a systematic installation process. This guide will outline key steps and considerations to ensure your metal roof installation goes smoothly.
Whether you're a DIY enthusiast or seeking professional help, knowing how to properly install metal roofing panels is essential. Jersey Strong Roofing stands out as a trusted roofing company in New Jersey, helping homeowners and commercial clients alike achieve their roofing goals with expert guidance. With a focus on quality and customer satisfaction, our skilled team is dedicated to making sure your roofing project is a success.
Incorporating metal roofing can add significant value to your property, and understanding the installation process is the first step. This article will walk you through everything you need to know, ensuring that your new roof not only looks great but also stands the test of time.
Preparation for Metal Roofing Installation
Preparing for metal roofing installation involves crucial steps that ensure a successful and long-lasting result. Focusing on your roof's structure, accurate measurements, and any necessary repairs will set the foundation for a solid roofing project.
Assessing Roof Structure
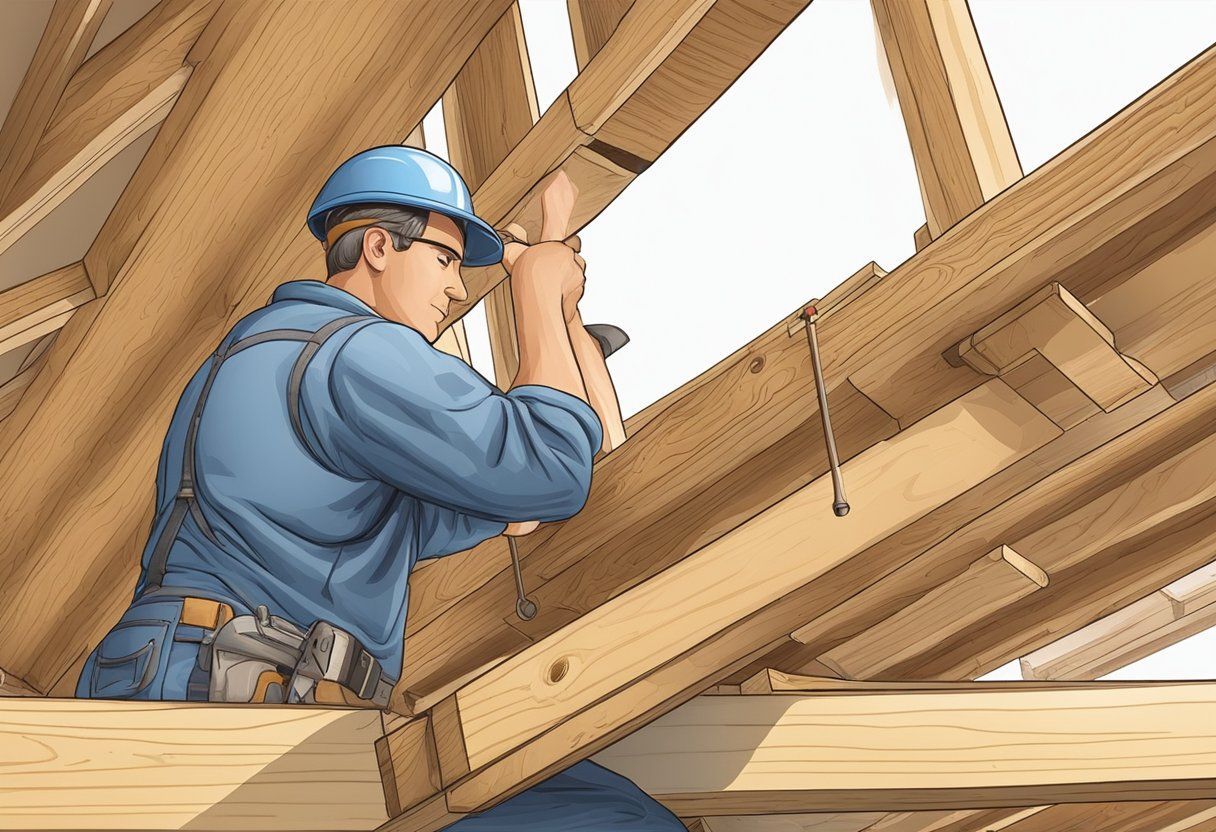
Start by evaluating the existing roof structure to ensure it's ready for metal roofing panels. Check for any sagging or damage, as this may affect the installation process. Your roof's pitch and load-bearing capacity are also important; if they fall short, reinforcing measures, such as OSB sheathing or additional support beams, may be necessary.
Inspect the roof line for any irregularities. A straight roof line ensures that the metal panels will fit correctly and perform optimally. If your home is prone to ice accumulation, consider installing an ice and water shield along the eaves to prevent leaks and water damage.
Measuring and Ordering Materials
Accurate measurements are critical when installing metal roofing. Measure the roof's total area, including any overlapping sections. This will help determine the number of metal roofing panels needed and minimize waste.
When ordering materials, consider including underlayment, insulation, and eave trim in your shopping list. Underlayment provides an additional layer of protection against moisture, while proper insulation contributes to energy efficiency. Choosing quality materials from reliable suppliers ensures that your roof will withstand the elements and provide lasting performance.
Roof Inspection and Repair
Before proceeding with the installation, conduct a thorough roof inspection. Look for cracked or missing shingles, damaged flashing, or any signs of water damage. Any issues should be addressed before installing your new metal roofing.
Perform necessary repairs to the underlying structure, as these repairs will support and extend the life of your new roof. Jersey Strong Roofing, a trusted roofing company in New Jersey, emphasizes the importance of these checks to prevent future repairs and costs. Our skilled team assures that your roof is prepared for new metal panels, ensuring both safety and durability.
Installation of Underlayment and Flashing
Proper installation of underlayment and flashing is crucial for ensuring the longevity and integrity of your metal roofing. This process involves several key steps that help protect your home from water intrusion and environmental damage.
Laying the Underlayment
Start by laying the underlayment, which acts as a protective barrier against moisture. Choose a high-quality underlayment like an ice and water shield for vulnerable areas. Begin at the eaves and work your way up, overlapping each row by at least 6 inches.
Ensure the underlayment is smooth and wrinkle-free for optimal performance. Fasten it securely with roofing staples or adhesive, following the manufacturer’s directions. Pay special attention to valleys and any roof protrusions, where water may collect. Proper installation prevents leaks and extends roof life.
Applying Eave Trim and Drip Edge
After the underlayment is down, install eave trim and drip edge. Start with the drip edge at the eaves, which helps direct water away from the fascia. Position it so that it extends beyond the underlayment by about ½ inch, securing it with roofing nails.
The eave trim should be installed next, ensuring it fits snugly against the drip edge. This trim not only improves aesthetics but also adds an extra layer of protection. Be sure to use galvanized or stainless steel nails to prevent corrosion, ensuring lasting durability of the installation.
Securing Flashing on Edges and Valleys
Flashing is essential for sealing edges and valleys, preventing water infiltration. Install flashing along roof edges and around any protrusions, such as chimneys or vents. Begin by measuring and cutting sections of flashing to size.
Secure the flashing using roofing cement and nails, ensuring it overlaps the underlayment by at least 2 inches. In valleys, consider using a continuous piece of flashing to minimize seams. This setup enhances water runoff and effectively prevents leaks. Proper flashing installation is vital to the overall performance and lifespan of your metal roof.
For your roofing needs, consider Jersey Strong Roofing. We offer extensive services to ensure your roof's integrity and longevity. Trust in our expertise to keep your home or business protected from the elements.
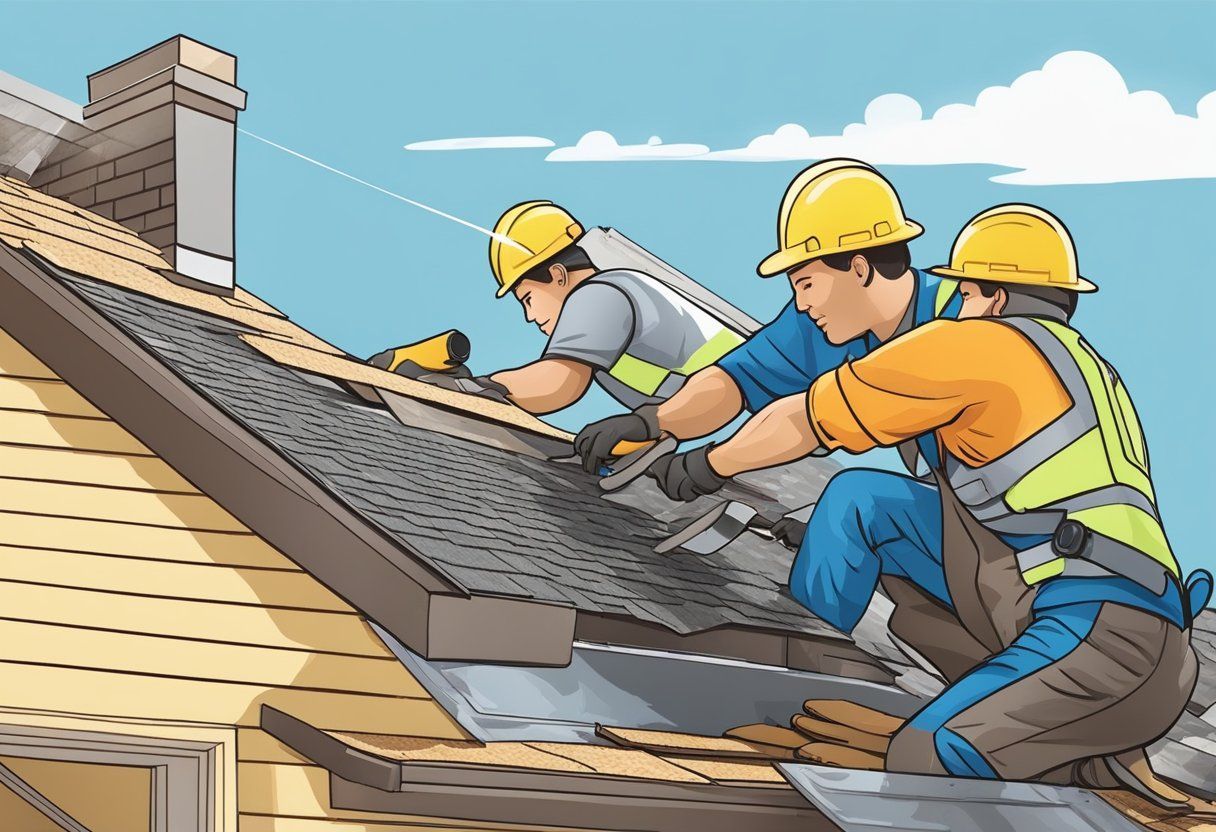
Fitting the Metal Roofing Panels
When installing metal roofing panels, precise fitting is crucial for durability and weather resistance. Proper alignment, secure overlapping, and effective flashing will ensure a long-lasting roof.
Aligning Panels Correctly
Begin by placing the first metal panel at the edge of the roof, ensuring it overlaps the edge by 1/2 to 3/4 of an inch. Use a level to check its alignment with the roofline.
Next, position foam closure strips beneath the panel. These strips provide support and help seal the gaps against moisture and pests.
Use screws with rubber washers specifically designed for metal roofing. Space screws approximately every 24 inches along the panel's ribs. This prevents loosening over time. Jersey Strong Roofing emphasizes the importance of precise alignment to avoid future leaks and structural issues.
Overlapping and Securing Panels
As you place additional panels, ensure they overlap the previous panel by at least 2 to 3 inches. This overlap is essential for water shedding and preventing leaks.
Use the same type of screws and rubber washers for securing the panels. Tighten each screw carefully; over-tightening can damage the panel or create leaks.
Check for even spacing between panels. Incorrect spacing can result in visible gaps and compromise the integrity of the roof. When done right, overlapping and securing panels will create a waterproof barrier that effectively protects your home.
Installing the Gable End and Sidewall Flashing
Once the panels are in place, focus on the gable end and sidewall flashing. Flashing protects vulnerable areas where the roof meets vertical surfaces.
Install the gable end flashing by placing it over the last panel and securing it with screws. Ensure it fits snugly to prevent water entry.
For sidewall flashing, position it along the side panels, extending at least 2 inches over the panels. Secure it similarly with screws and rubber washers.
This installation process reinforces your roof's durability and is essential for preventing leaks. By following these steps, you minimize potential long-term costs associated with roof repairs. For reliable roofing services, consider Jersey Strong Roofing, your trusted partner in New Jersey.
Detailing and Finish Work
Completing the installation of metal roofing panels involves crucial detailing and finish work to ensure durability and effectiveness. Properly addressing elements like the ridge cap, gutters, and vent boots will enhance performance and prevent future issues such as condensation and leaks.
Attaching the Ridge Cap
The ridge cap is essential for sealing the peak of your roof, protecting it from water infiltration. Begin by measuring the length needed for each side of the ridge. Cut the panels accurately and position them, ensuring they overlap appropriately to provide a watertight seal.
Use roofing screws to secure the ridge cap, spacing them no more than 12 inches apart. This will hold the cap firmly against the roofing panels and enhance wind resistance. A consistent application of sealant underneath the cap can provide extra protection against leaks.
Installing Gutters and Downspouts
Gutters play a vital role in directing water away from your roof and foundation. Start by measuring the eaves and cutting gutter sections to fit. Use a level to ensure your gutters slope slightly toward downspouts to facilitate proper drainage.
Attach the gutters using hangers spaced about every two feet. Install downspouts at least every 30 feet or as needed, ensuring they direct water away from the foundation. Properly installed gutters will minimize the risk of water damage and reduce potential condensation issues.
Applying Sealant and Roofing Vent Boots
Sealant application is critical for maintaining a waterproof barrier. Use high-quality roofing sealant around seams, fasteners, and edges to prevent leaks. Pay special attention to any areas where different materials meet, such as flashing and roof panels.
Roofing vent boots help prevent water intrusion around vents. Install them carefully over the vent pipes, ensuring they fit snugly to the roof surface. Seal any gaps with a quality caulk to further enhance protection. With correct installation, you'll ensure longevity and durability for your roof, especially with the help of expert providers like Jersey Strong Roofing.
Final Inspection and Maintenance Tips
Proper inspection and maintenance are crucial for ensuring the longevity of your metal roofing panels. This section focuses on inspecting fasteners and seals, as well as maintaining the roof surface for optimal performance.
Inspecting Fasteners and Seals
Regularly check all fasteners and seals to ensure they are secure and functioning correctly. Loose fasteners can lead to leaks and compromise the integrity of the roof. Inspect the following:
- Fastener Condition: Look for rust or wear. Replace any damaged fasteners immediately.
- Sealant Integrity: Ensure that seals around penetrations, such as vents and skylights, are intact. Cracked or peeling sealant should be removed and replaced.
- Sealant Application: Ensure that sealants are applied appropriately at the roof edge and overhang areas.
Using quality sealants can prolong the life of your roof. If you're unsure, seeking help from professionals like Jersey Strong Roofing can prevent potential issues.
Maintaining the Roof Surface
Maintaining the roof surface is essential for extending your metal roofing's lifespan. Regularly perform the following tasks:
- Cleaning Debris: Remove leaves, branches, and dirt. Clogged debris can trap moisture, leading to rust or corrosion.
- Gutter and Drain Cleaning: Ensure that gutters and drains are clear to facilitate proper water flow. This helps prevent pooling, which can damage the roof's structure.
- Surface Inspection: Conduct visual inspections at least twice a year and after major storms. Look for signs of damage or wear.
By maintaining a clean and well-cared-for roof, you reduce the risk of costly repairs. Trust Jersey Strong Roofing for your roofing needs to ensure your roof remains in excellent condition.
Frequently Asked Questions
When installing metal roofing panels, there are several critical aspects to consider. Understanding the correct procedures, common mistakes, and necessary materials will help ensure a successful installation.
What is the correct procedure for installing metal roofing panels on a residential house?
Begin by preparing the roof deck, ensuring it is clean and free of debris. Install an underlayment to provide an extra layer of protection. Next, lay the metal panels starting from the eave upwards, overlapping each panel as you go. Secure them with approved screws, ensuring proper placement to avoid leaks.
What steps should be followed for installing metal roofing panels on a shed?
To install metal roofing on a shed, first measure and cut the panels to fit. Like residential roofs, install a suitable underlayment if necessary. Begin from the lower edge and work your way up, securing each panel tightly with screws. Ensure that the panels overlap adequately to protect against moisture.
How do you properly install screws when fitting metal roofing?
Screws should be installed in the flat areas of the metal panels, not in the ridges. Use washers on each screw to create a watertight seal. Follow manufacturer guidelines for the correct spacing and torque settings, ensuring the screws are snug but not overly tight to prevent panel distortion.
What are the common installation mistakes to avoid when laying a metal roof?
One common mistake is improper panel alignment, which can lead to leaks. Avoid over-tightening screws, as it may damage the panels. Additionally, ensure that all seams are properly sealed and that panels are appropriately cut to fit around obstacles such as vents and chimneys.
Is there specific material to be placed underneath metal roofing panels, and what is its importance?
Yes, an underlayment is crucial for enhancing water resistance and protecting against condensation. It acts as a barrier, preventing moisture from reaching the deck. Using a quality underlayment can extend the life of your roofing system.
Can metal roofing be installed on a flat roof, and what method should be used?
Metal roofing can indeed be installed on flat roofs. Ensure to use raised seams to facilitate water drainage. It’s essential to install a waterproof membrane beneath the panels to prevent water accumulation, which could lead to leaks and structural damage.
OUR SERVICES
OUICK LINKS
Send us a message